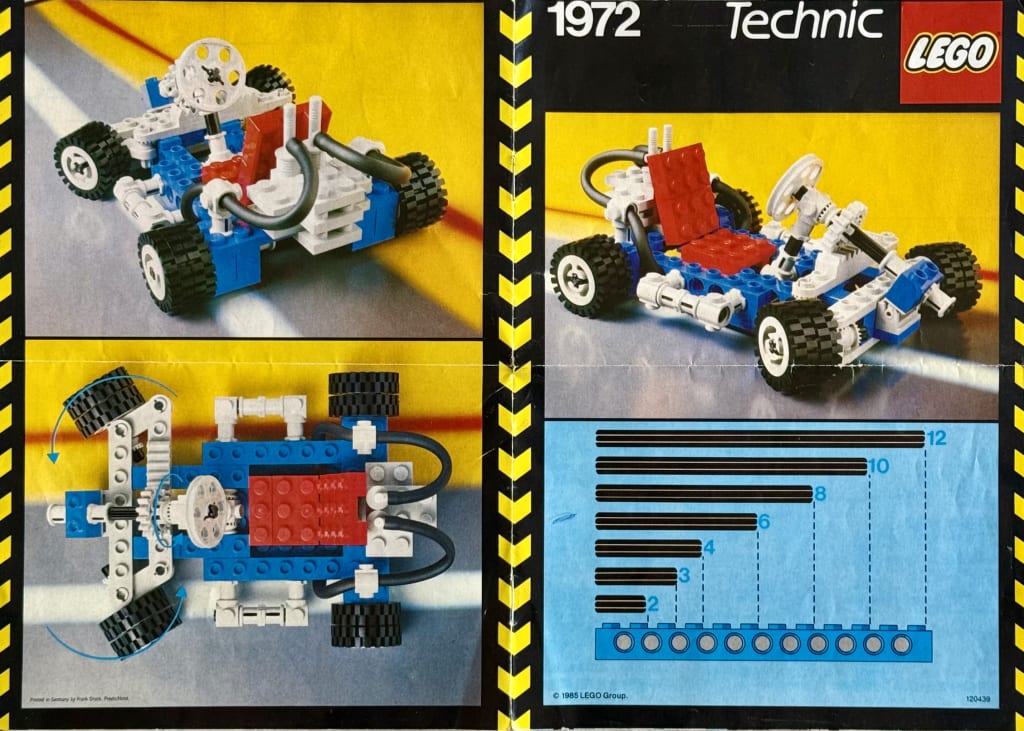
#1972 Go-Kart
We’ve now posted all the 1986 releases here on the Hyggebygge blog, and it’s time to move on to the sets released in ’85. This year has the most releases in my childhood LEGO collection, with 12 sets in total, so I guess we’re gonna be here for a while. The Swedish LEGO catalogue from 1985 may help you get into the mood!
However, for some reason #1972 Go-Kart, the set in focus of this post, is not present in the above LEGO catalogue. It’s listed at Brickset with availability "Retail - limited", which makes me wonder where this set was sold. Curiously, it is also the only Technic set LEGO released during ’85—if you look at the catalogue you’ll find none of the Technic sets marked with the star indicating new releases.
I got it in May 1987, and although I don’t know from whom, that someone must have found it on a shop shelf somewhere and bought it for me. I’m so glad they did, because among all the Technic go-karts, I think this is the best looking one!
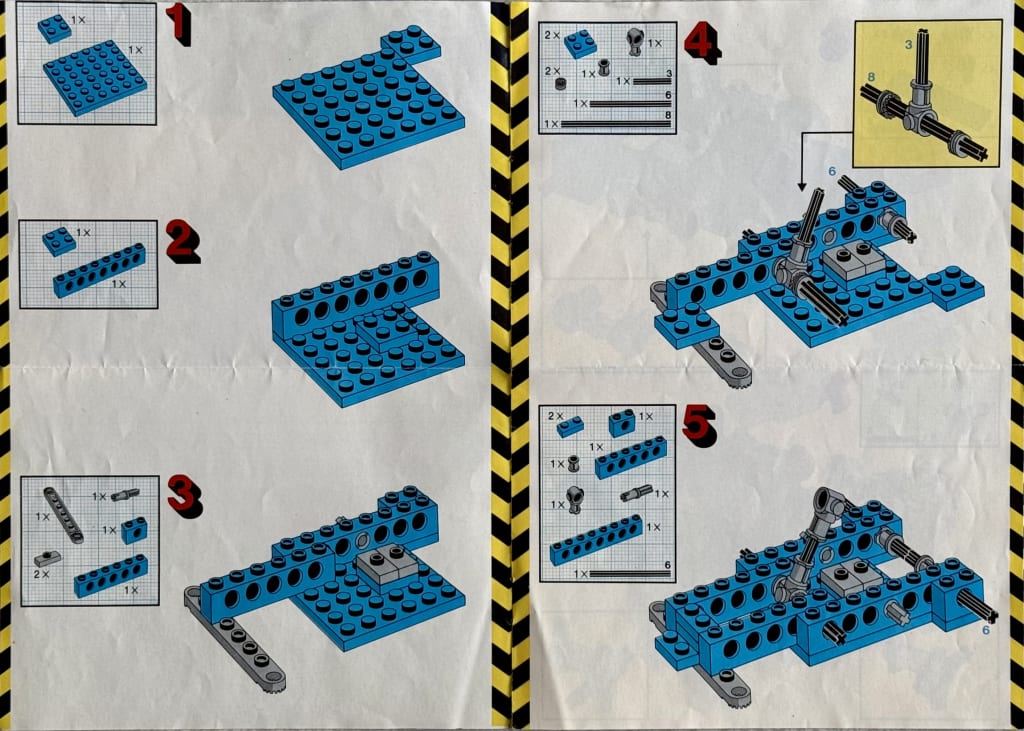
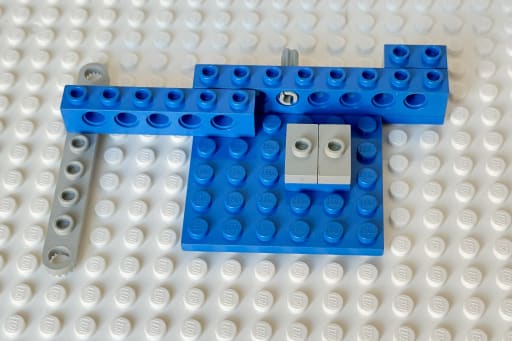
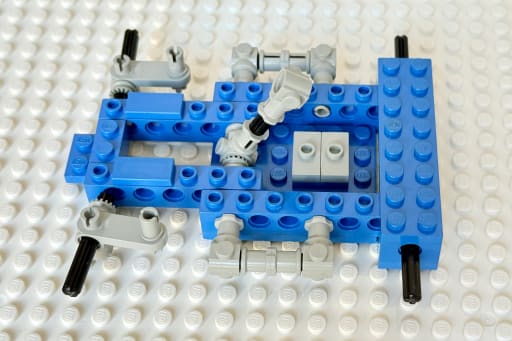
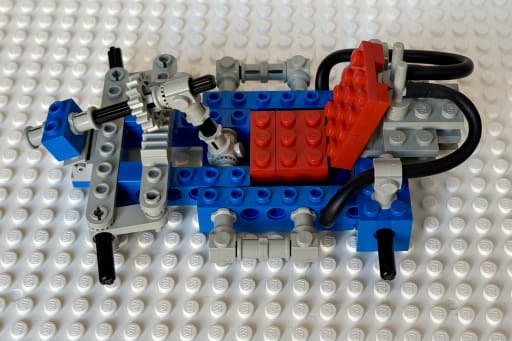
The instructions start with building the chassis from one side, sliding sub-bilds and axles into place. It strikes me how little LEGO Technic I’ve been building in my life, this felt really unfamiliar to me! Also, these old Technic bricks, having pin holes but also studs and anti-studs at the same time makes following the instructions a bit tricky.
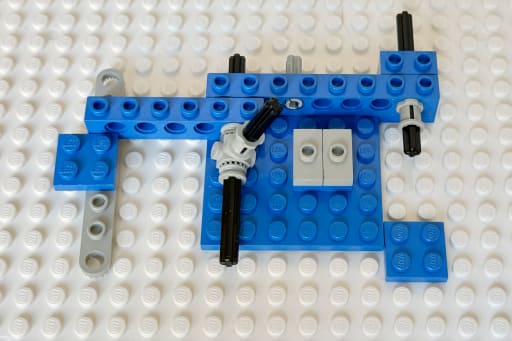
To get the Technic bricks on the second side in place in step 5, I couldn’t just slide them onto the axles and press down. Instead, I had to lift the bricks on the first side slightly before sliding them on and pressing both sides down together. I guess this is not a problem with modern Technic sets that have beams without studs and anti-studs. I wonder if this is why LEGO phased out the long Technic bricks?
My mechanical skills are not very up to date after working in the software industry for 25 years, but I take note in step 5 that the back axle is split, allowing the wheels to rotate individually for smooth cornering. No need for a differential when there is no drive shaft!

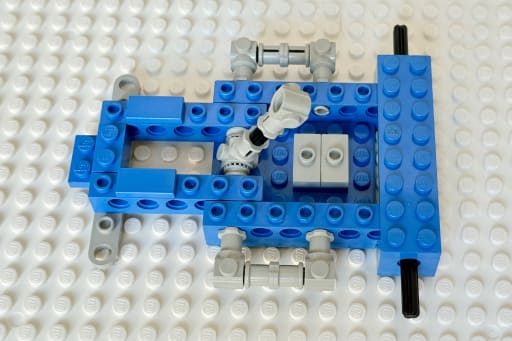
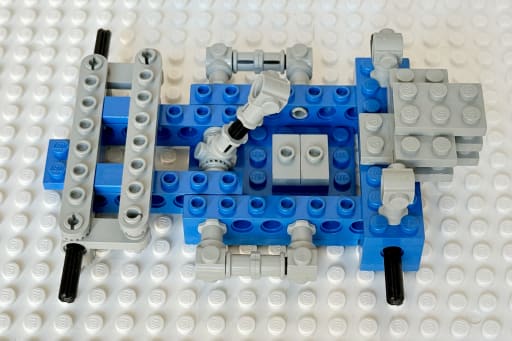
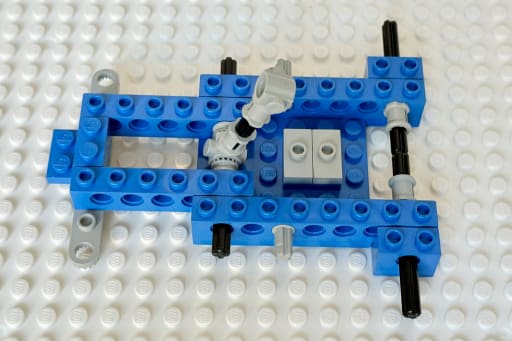
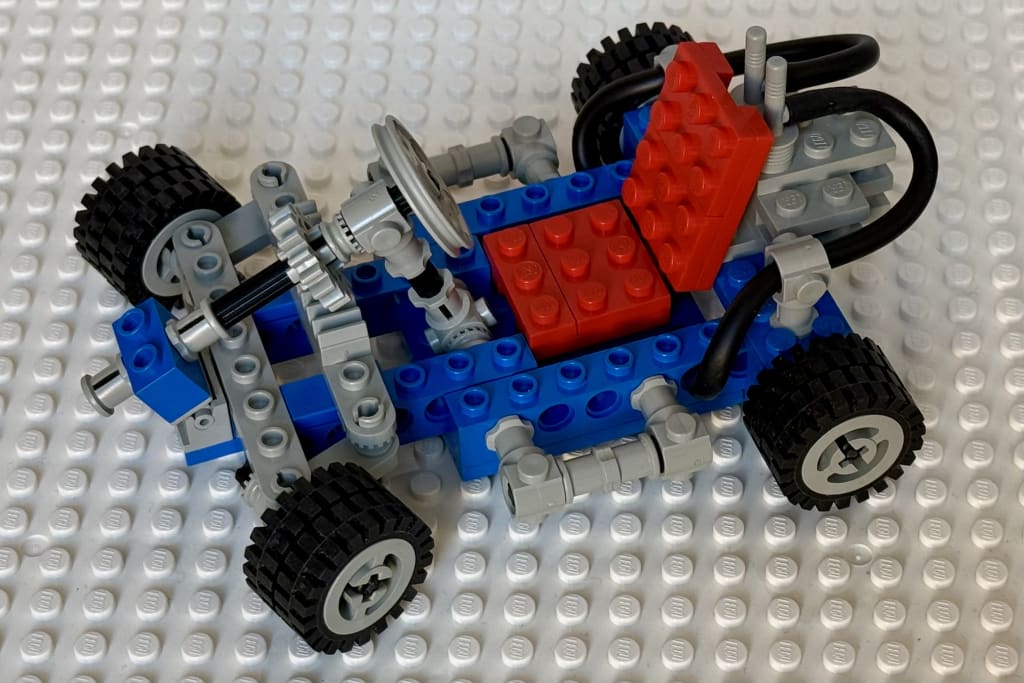
From step 5 and onwards the build is kept symmetrical. A decorative engine is added at the back, with the steering being the only functional mechanical detail of the vehicle. I do remember learning about steering mechanisms from this set, so the educational value was definitely there! I had to learn about differentials from the larger Technic sets my friends had…
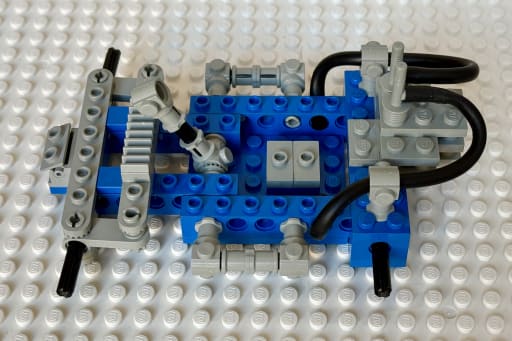
In the last step we attach all the wheels, both the steering wheel and double wheels in all four corners for that wide tire look. I think the set looks excellent with its blue base and contrasting red seat. The details of the steering are clearly visible and you can really see how it works in action. The rest of the details are purely decorative, but they make the whole vehicle look very balanced in my opinion.
Now, I just wish I had more technic parts so I could build some more advanced constructions!